Installation planning
Direct-Stick vs Floating Engineered Timber Flooring: Which Method Suits Your Home?
Direct-stick engineered timber is bonded to a prepared substrate, while a floating floor sits over an approved underlay. The right method depends on the selected product, substrate condition, flatness, moisture, acoustics and connected floor details.
01
The two systems connect to the substrate differently
In a direct-stick installation, engineered timber boards are bonded to the prepared substrate with a compatible flooring adhesive. In a floating installation, the boards connect to each other and sit over an approved underlay without each board being bonded to the slab.
Neither method is automatically right for every home. Product approval, moisture, flatness, acoustics, connected rooms, stairs, door clearances and adjoining floor heights should be reviewed together.
02
What direct-stick installation requires
Direct stick creates a bonded connection between the engineered timber and prepared substrate. It is often considered where a firm underfoot response, detailed transitions and continuity across connected areas are important.
Adhesive cannot compensate for an unsuitable surface. The substrate should be assessed for flatness, moisture, surface strength, contamination, cracks and coatings. Preparation may involve cleaning, grinding, repairs, moisture management, local correction or levelling according to the measured condition and approved system.
- Confirm that the selected board is approved for bonding.
- Use compatible primer, levelling, moisture-control and adhesive products.
- Coordinate finished heights at tiles, doors, cabinetry and stairs.
03
What floating installation requires
In a floating system, boards are joined and installed over a compatible underlay. Underlay is not a substitute for correcting excessive unevenness: the substrate must still satisfy the flooring manufacturer's flatness and moisture requirements.
Perimeter clearances, expansion breaks, connected floor dimensions, heavy fixed elements, transitions and acoustic specifications must also be planned. The exact board system and underlay requirements take priority over a general preference.
- Check the locking or tongue-and-groove system.
- Confirm approved underlay and acoustic requirements.
- Plan movement, expansion breaks and fixed elements before installation.
04
Why substrate flatness matters
Engineered timber boards need consistent support. Excessive high and low areas can affect board contact, movement, sound, joints and the visual quality of the finished floor.
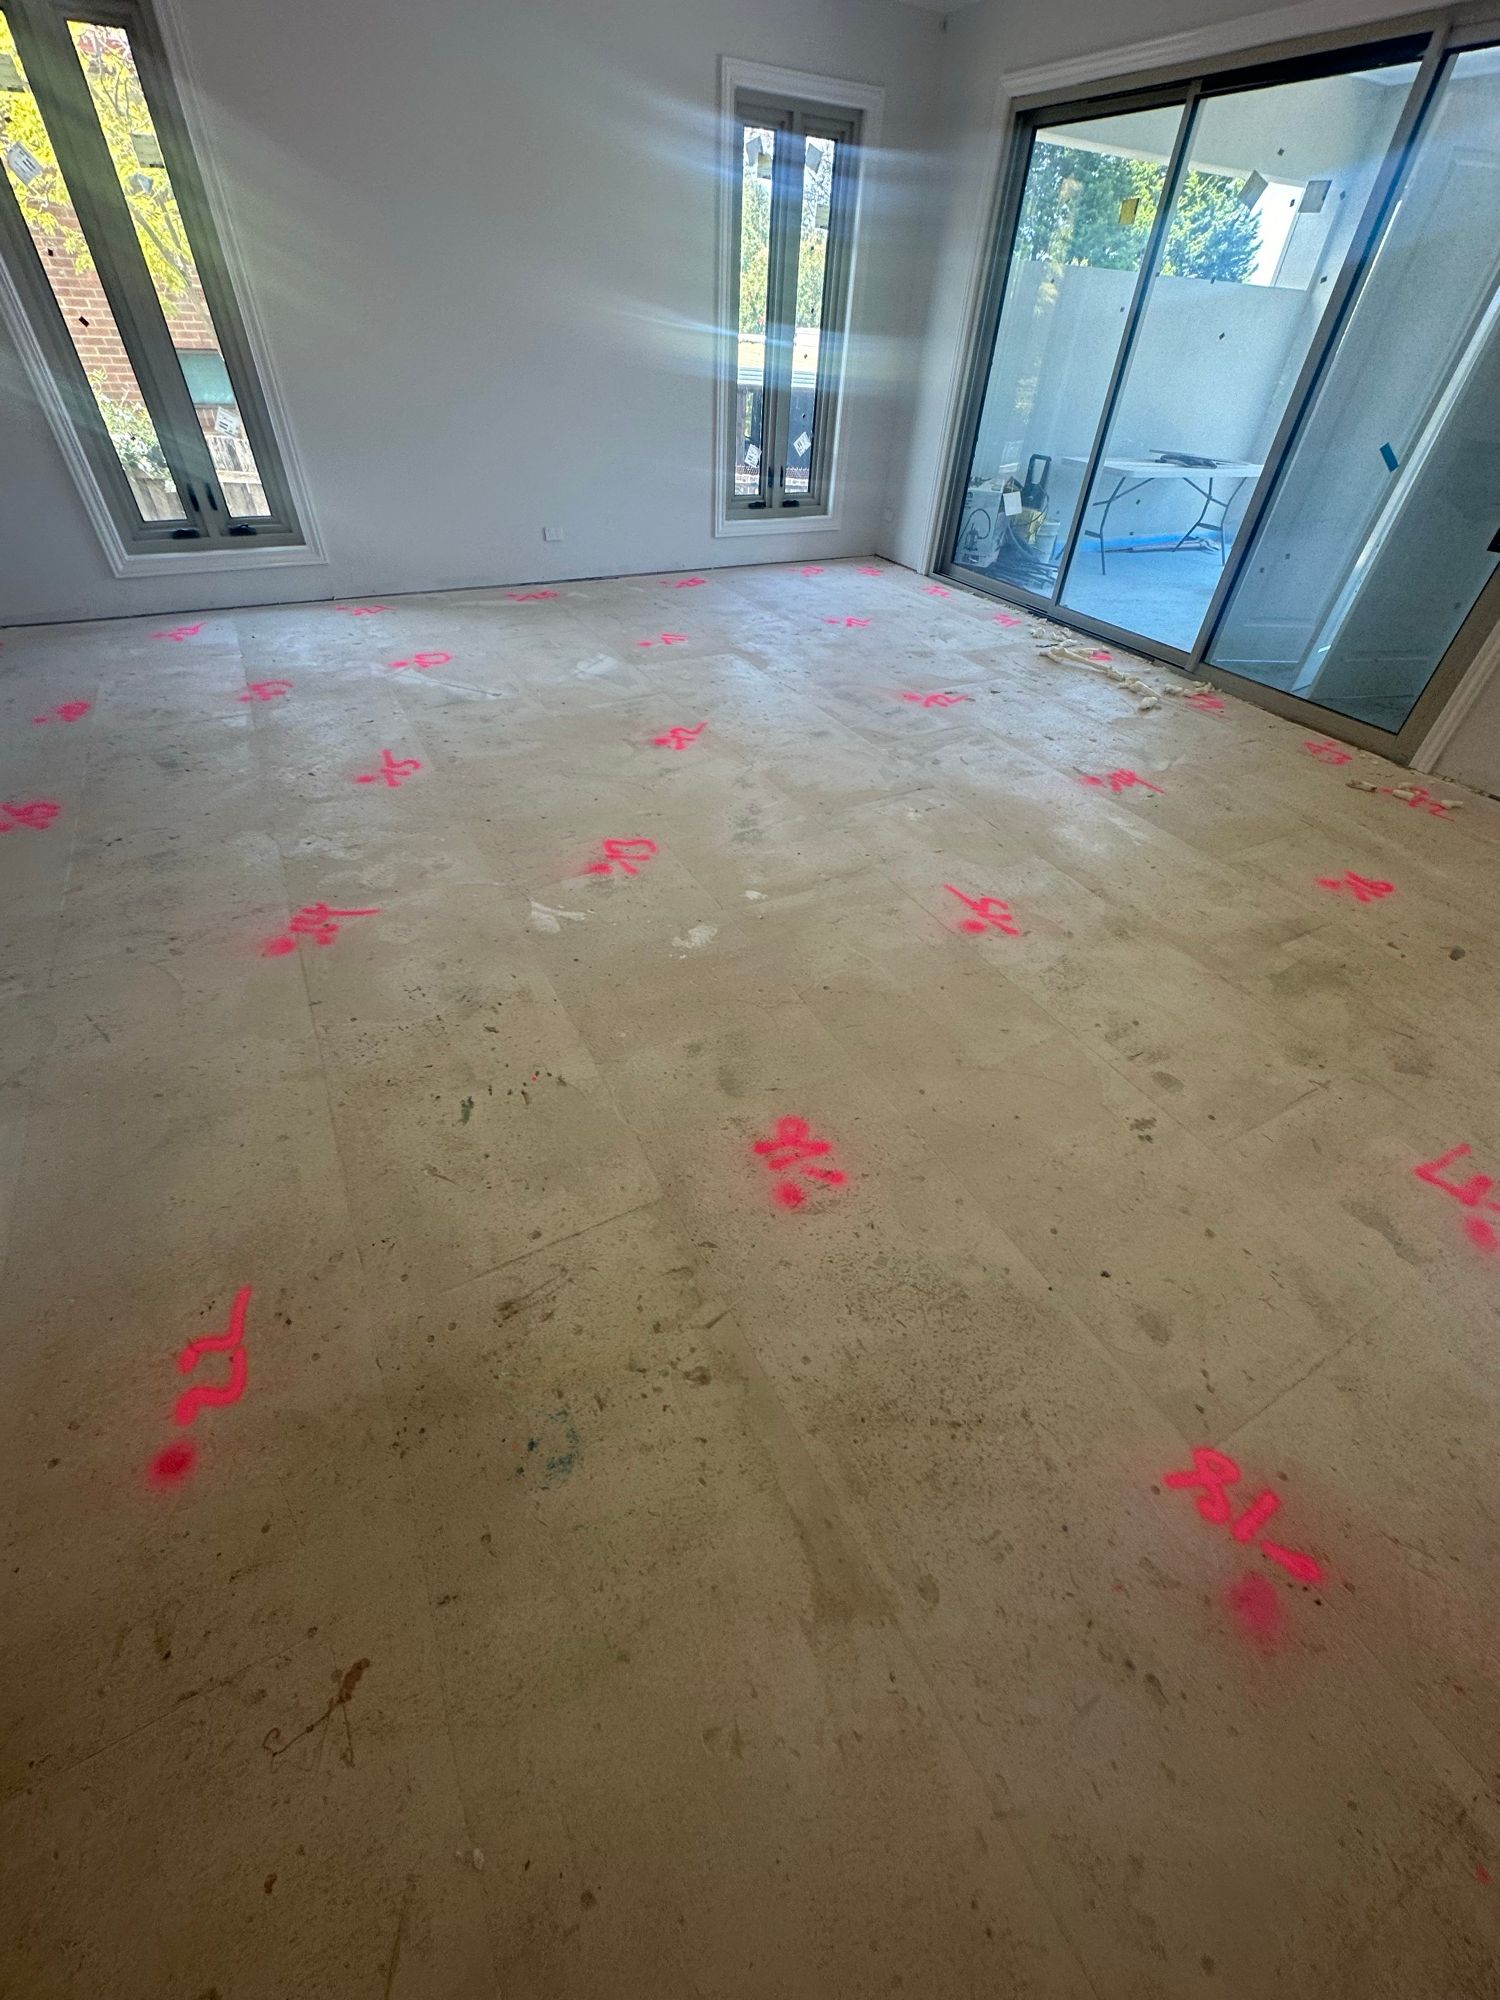
A floor that appears level by eye may still vary across a long room or connected plan. Preparation begins by surveying and marking the substrate. The appropriate correction may be localised or extend through a larger connected area. Whole-home self-levelling should only be specified where measured conditions and the flooring system justify it.
05
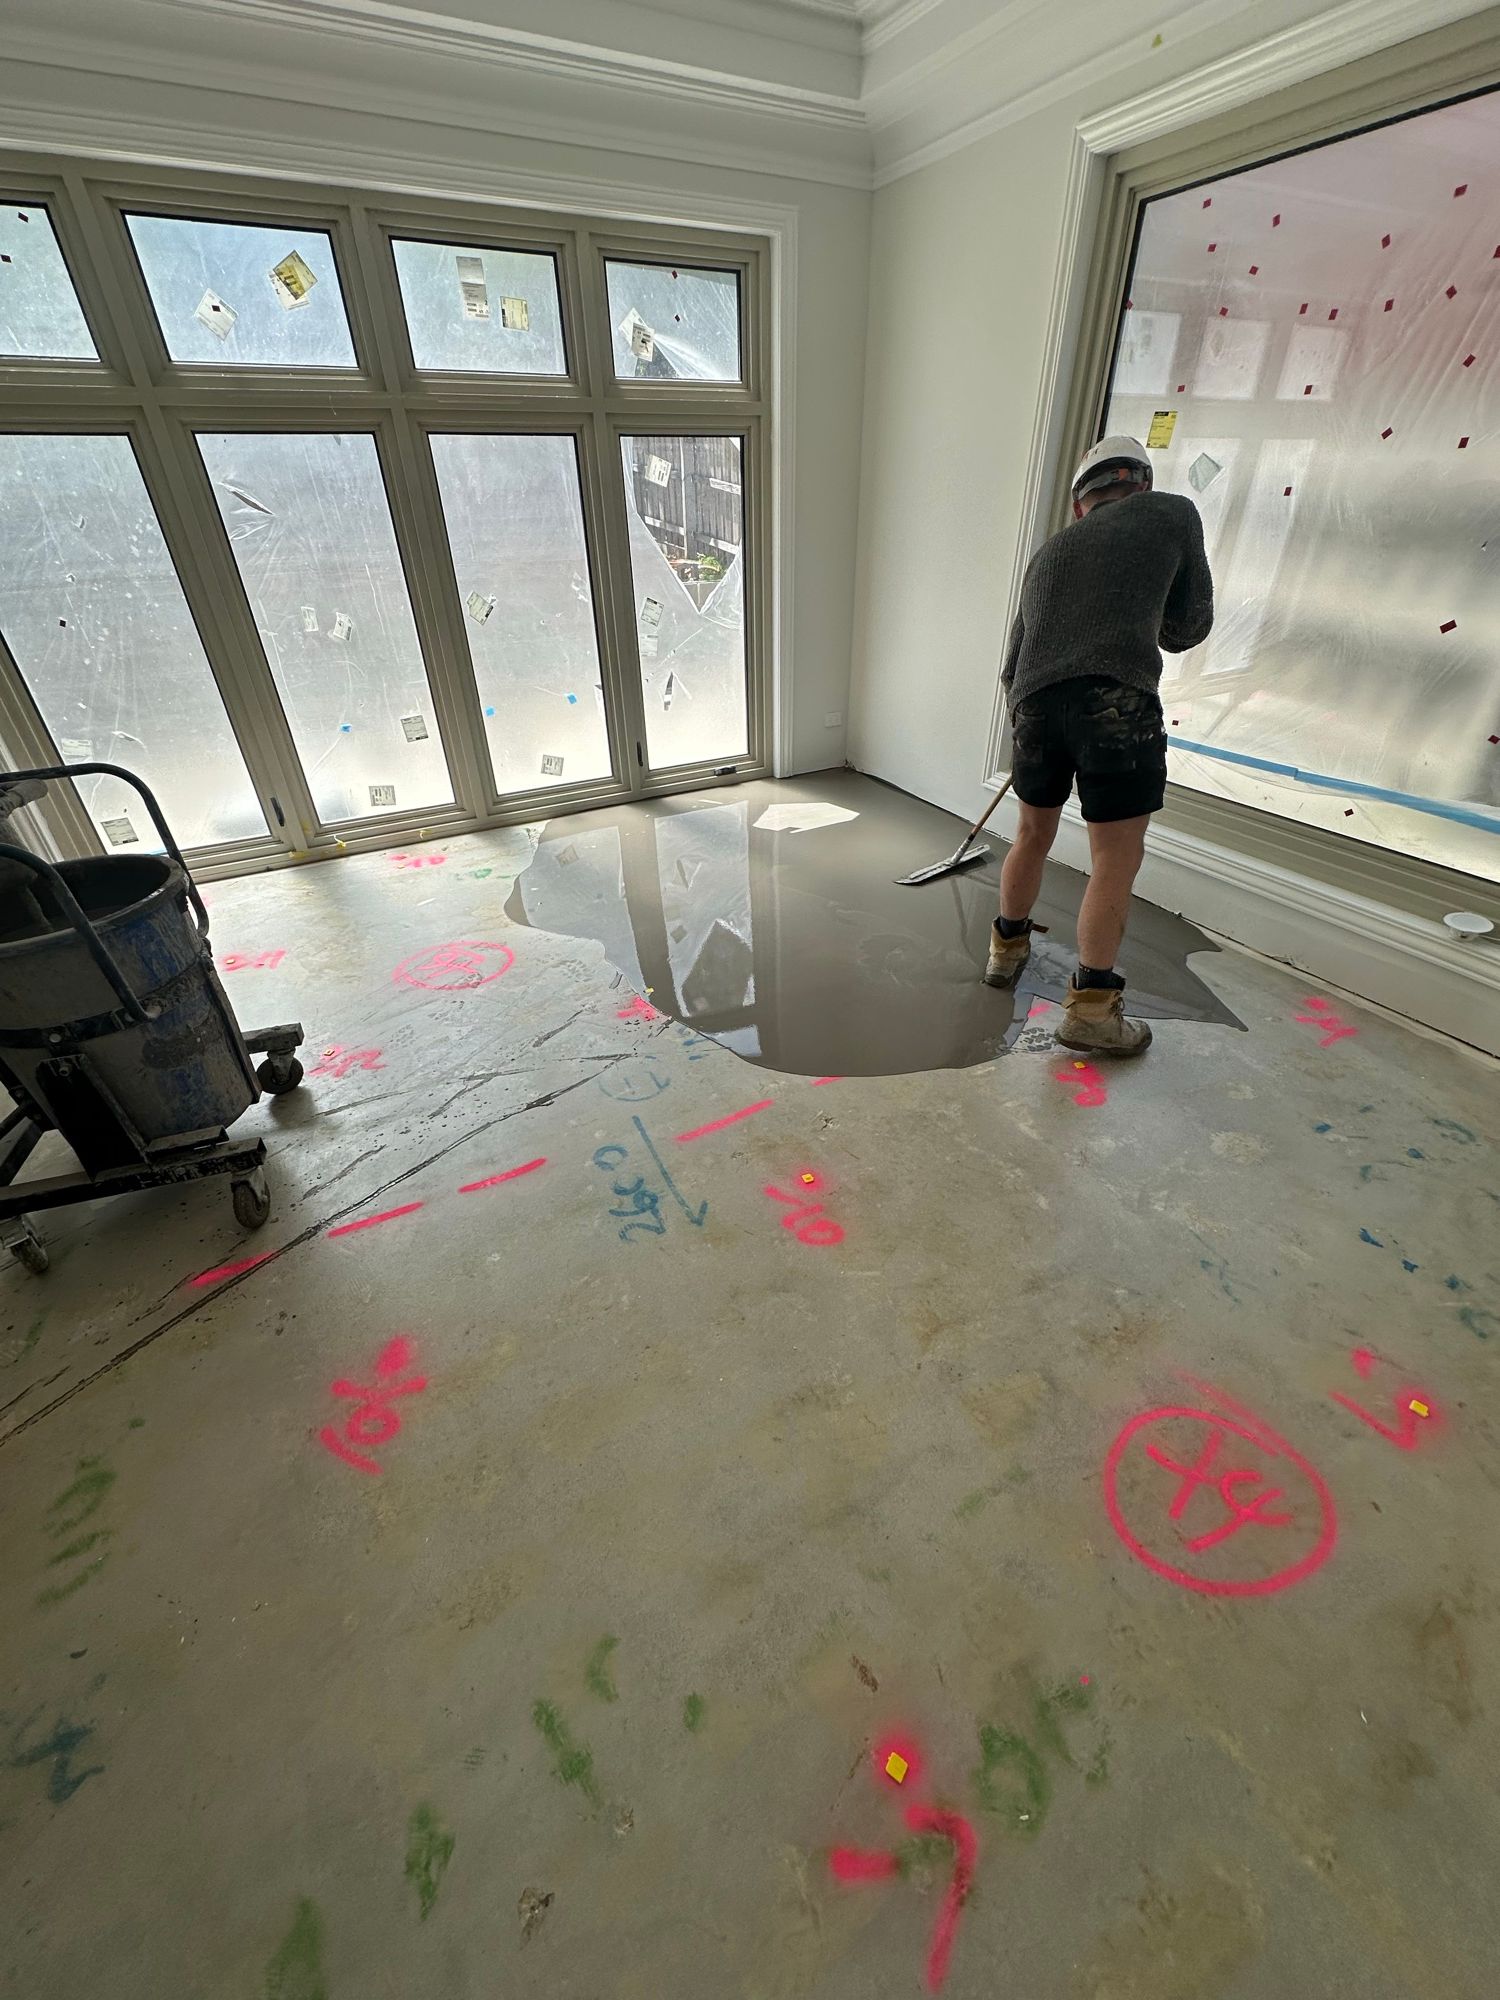
What whole-home self-levelling looks like during application
After the substrate and perimeter are prepared, self-levelling compound is placed and worked across the floor in a planned sequence. Priming, mixing, working time, application depth and environmental conditions must follow the selected product system.
Connected areas need to be coordinated so the finished preparation supports the planned board setout and transitions.
06
Freshly completed and dried are different stages
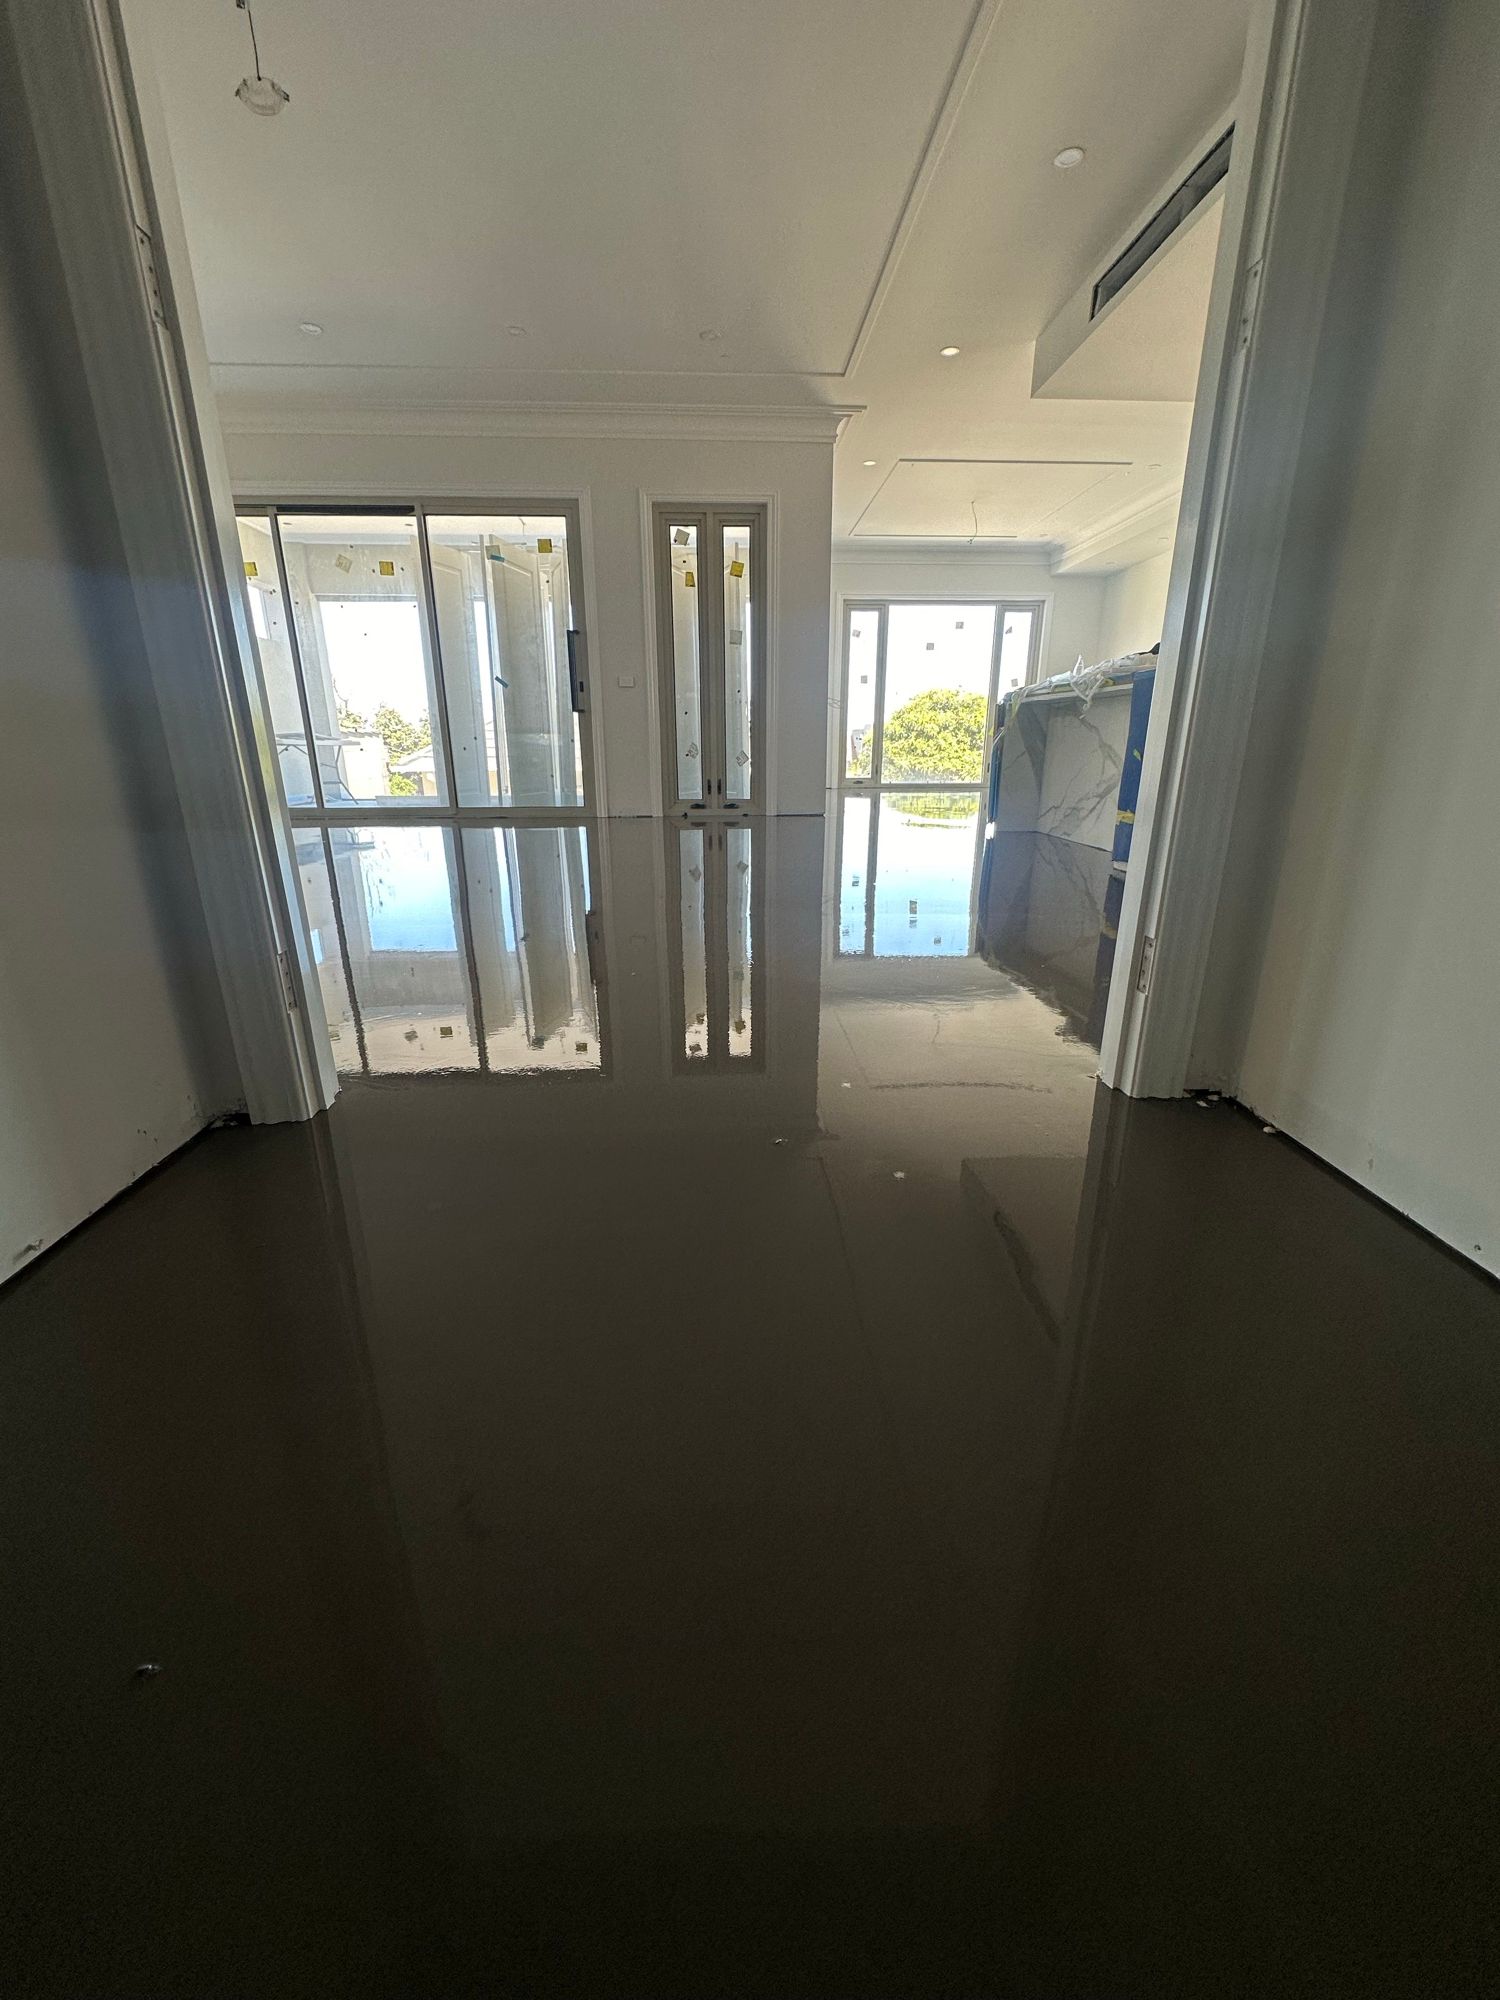
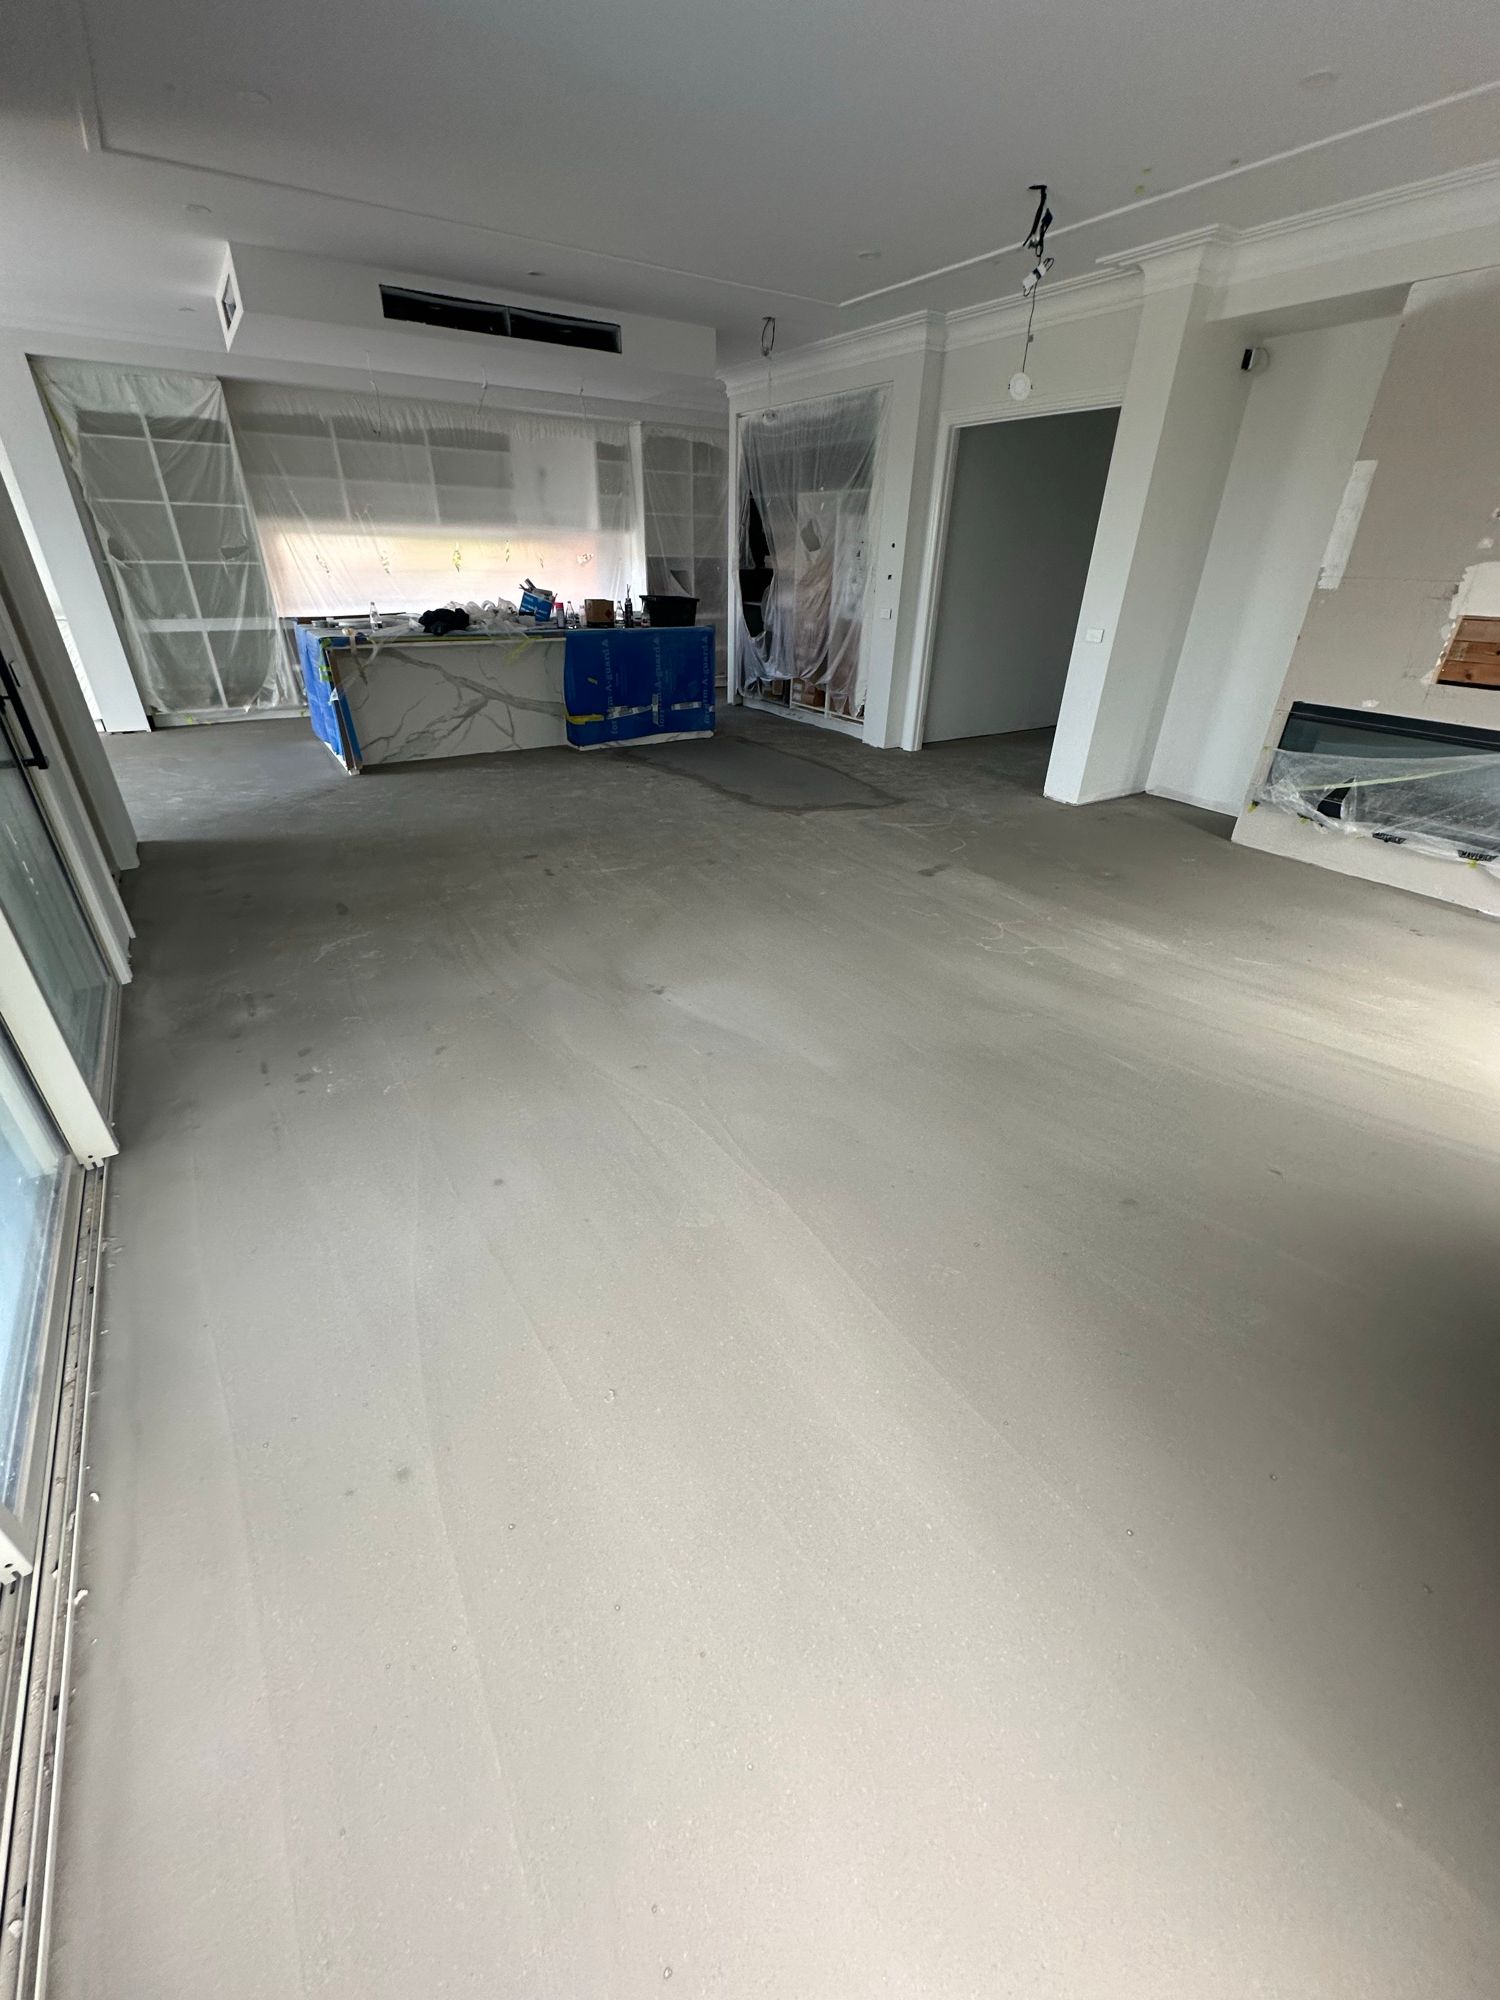
Immediately after application, the surface is still wet and cannot be treated as ready for timber installation. It must cure and dry according to the product specification, application thickness and site conditions.
A dry appearance alone is not final approval. Surface and moisture conditions should be checked against the flooring, adhesive and preparation-system requirements before engineered timber installation begins.
- Do not assume a generic drying time.
- Confirm moisture and surface readiness before bonding timber.
07
Choose the method with the whole floor plan in view
Not every direct-stick floor needs whole-home self-levelling, and choosing a floating floor does not make an uneven substrate acceptable. The required work follows actual measurements and product requirements.
For complex residential installation, review long sightlines, connected rooms, thresholds, kitchens, islands, fixed cabinetry, stairs, tile junctions, acoustics and construction sequencing together. Share the property location, plans, approximate area, existing finishes, substrate type, preferred timber and project timing for a project-specific review.